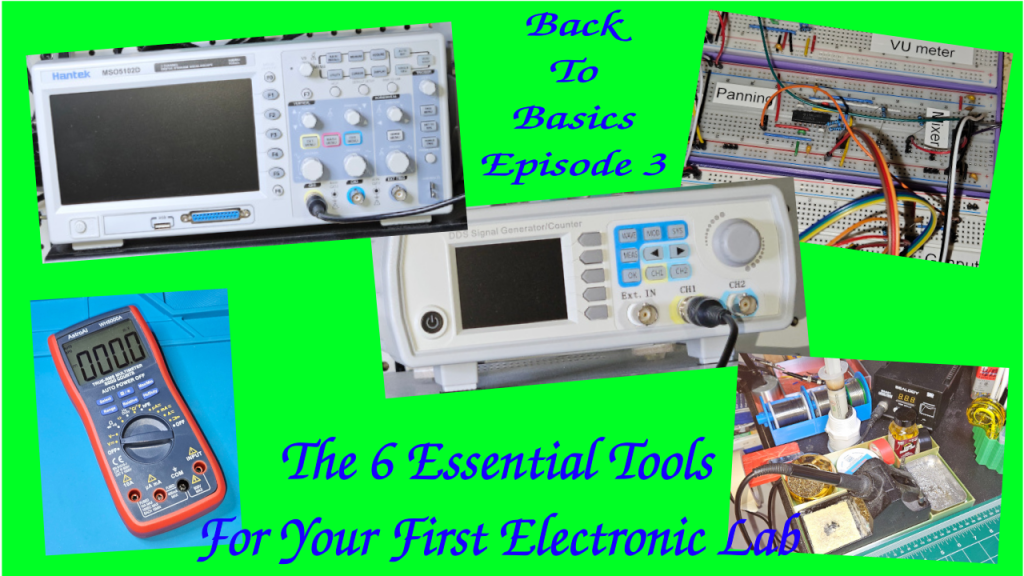
Hi there, welcome back to the “Back to Basics” series.
So you’ve decided to dive into electronics. You’re watching tutorials, you’re looking at schematics, but then you hit the wall: what tools do I actually need, and where do I start without spending a fortune? That’s the biggest barrier for everyone.
Today, we’re building your first electronics workbench. We’re going to break down the six most essential pieces of gear—from the absolute must-haves to the powerful diagnostic equipment you’ll eventually crave.
I’m structuring this into three simple tiers, to make it progressive.
Tier 1: The Must-Haves, which are the stuff you need on Day 1 to even build a circuit.
Tier 2: The Essential Builder Stuff or how to make your project permanent.
Tier 3: The Diagnostic Duo or how to troubleshoot and see signals you can’t see with your eyes. That’s for when you need to actually see the electricity doing its thing.
Let’s start building!
Tier 1 – The Absolute Must Have: The Prototyping Pair
Let’s dive into tier one. The prototyping pair. First up, the breadboard, your best friend for starting out. It’s basically a temporary solder-less lab.
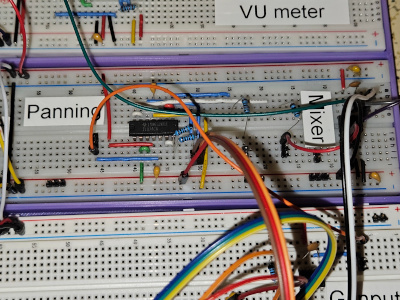
It will let you try things out, make mistakes, swap components. Basically: super fast iteration.
The key thing to get, though, is how it’s wired internally. Those middle columns, they connect vertically. Little strips of metal inside. You plug your component legs into different rows in the same column, and they’re connected.
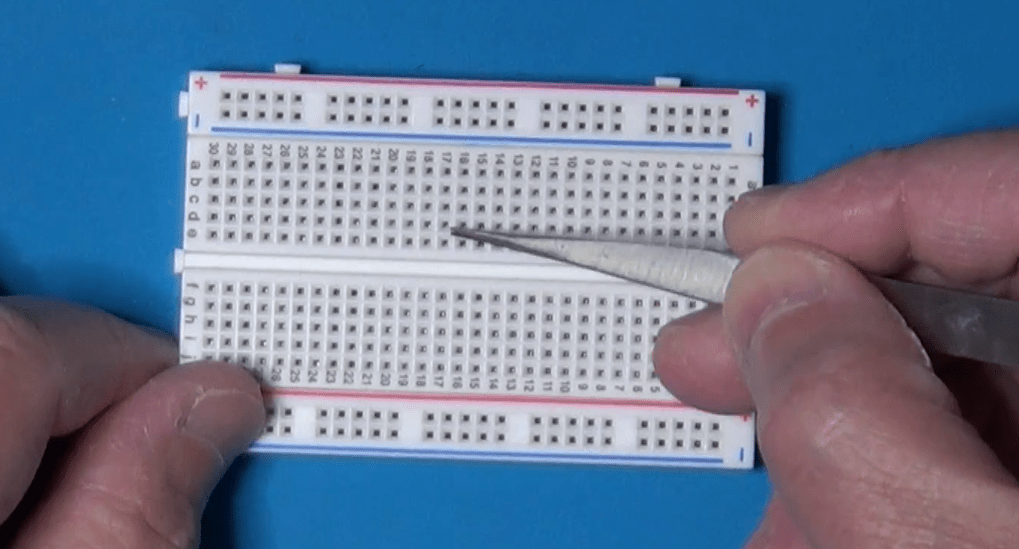
Those long strips on the sides, the power rails, run horizontally all the way from left to right. Knowing that difference saves hours of confusion. So vertical columns for components in the middle, horizontal rows for power on the sides. Simple when you know it.

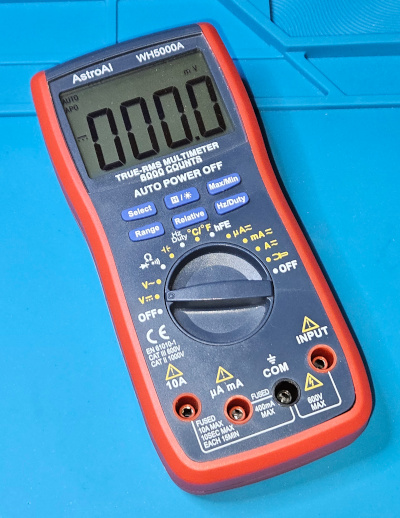
Once you’ve built something, you need to check if it actually works or why it doesn’t. Which brings us to the second must-have in Tier 1, the digital multimeter, or DMM. The Swiss Army Knife. You just can’t debug what you can’t measure. It’s fundamental. Safety, too. Measures voltage, current, resistance, the basics.
Tier 2 – The Essential Builder: Permanent Connections
Let’s now move on to Tier 2, the essential builder.
So your breadboard circuit works perfectly. Awesome. But now you want to make it permanent. Put it on a proper PCB or maybe a perf board. And that means soldering. You need a soldering iron and you need solder. This is where things get hands on. But what iron to use? There’s so many types.
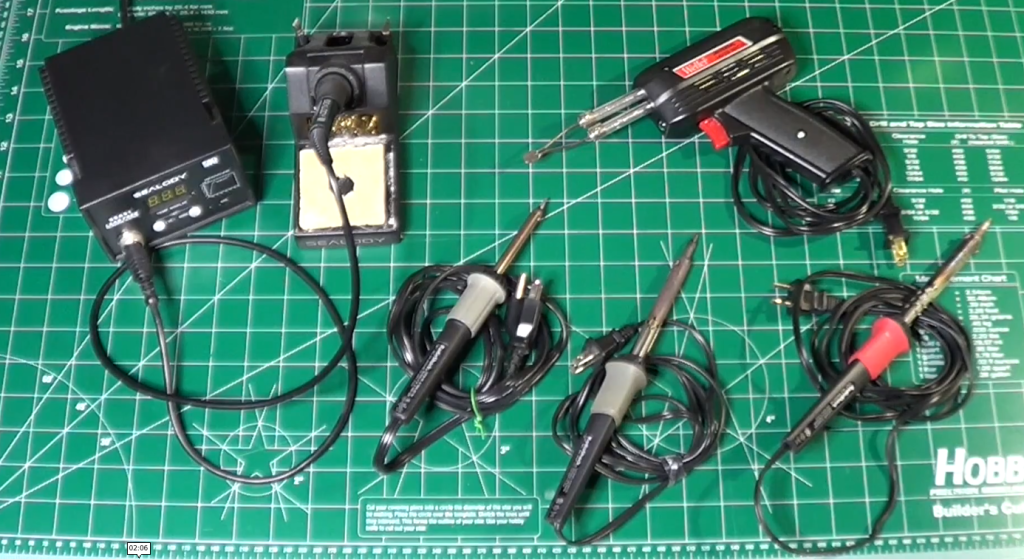
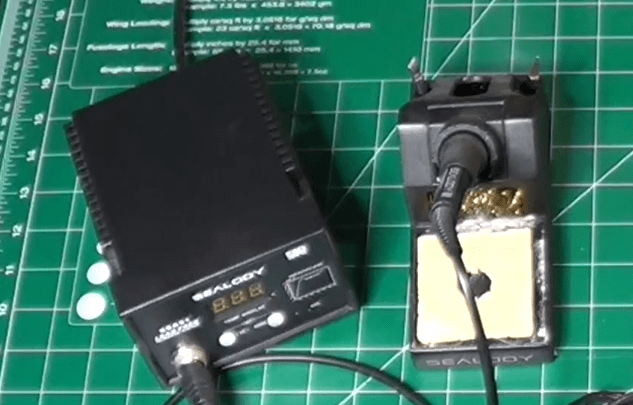
The key thing is temperature control. You need to be able to set the right temperature for your soldering components. Too cold, and you obtain bad joints. Too hot, and you damage the components.
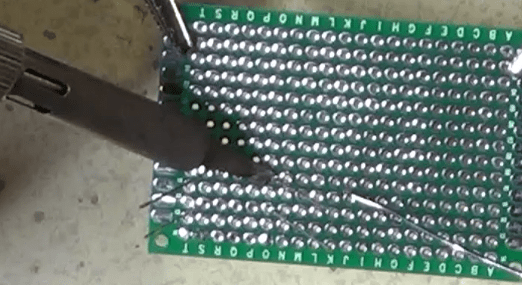
And then you need the proper technique. This is where people often mess up, big time. The absolute number one rule is: melt the solder with the components to attach together, not with the solder tip. You touch the hot iron tip to both the component leg and the copper pad on the board at the same time. You hold it there for a couple of seconds, just long enough for them both to get hot. Then you touch the solder wire to the joint, not to the iron tip. And the heat from the pad and the leg melts the solder, making it flow nicely around them. You’re aiming for that classic shiny volcano shape, a little cone. Not a dull blob. Definitely not a dull blob. Dull or lumpy means a cold joint, which will probably fail later.
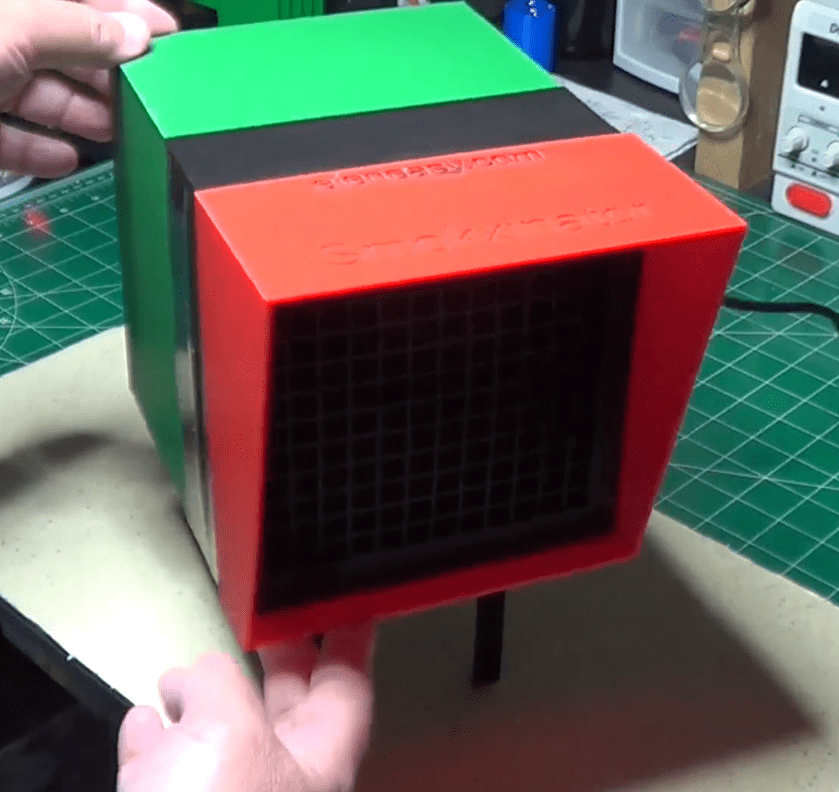
Also, always use a fan or work in a well-ventilated area. Those fumes aren’t good for you.
Tier 3 – The Diagnostic Duo: Seeing The Unseen
Now tier three, the diagnostic duo. This sounds more serious. Well, it is, in a way. This is for when you move beyond simple DC circuits into things that change over time, like audio signals or digital clocks.
First in the list is the function generator, or the signal injector. Its job is basically to create predictable electrical signals.

Known, clean waveforms, usually sine waves for analog stuff, square waves for digital, maybe triangle waves for ramps. Why is that necessary? Can’t you just use the signal from, say, the phone’s headphone jack? You could, but is that signal perfectly clean? Does it have noise? Is its amplitude exactly what you think? A function generator gives you a reliable, known-good input. So you’re eliminating unknown variables.
If you test a filter circuit with a perfect sine wave from the generator and the output looks wrong… Then you know the problem is in your circuit, not just some garbage coming in. It’s about controlled testing.
And now the function generator partner, the oscilloscope. The big gun. This is arguably the most powerful debugging tool in electronics. It lets you see electricity.
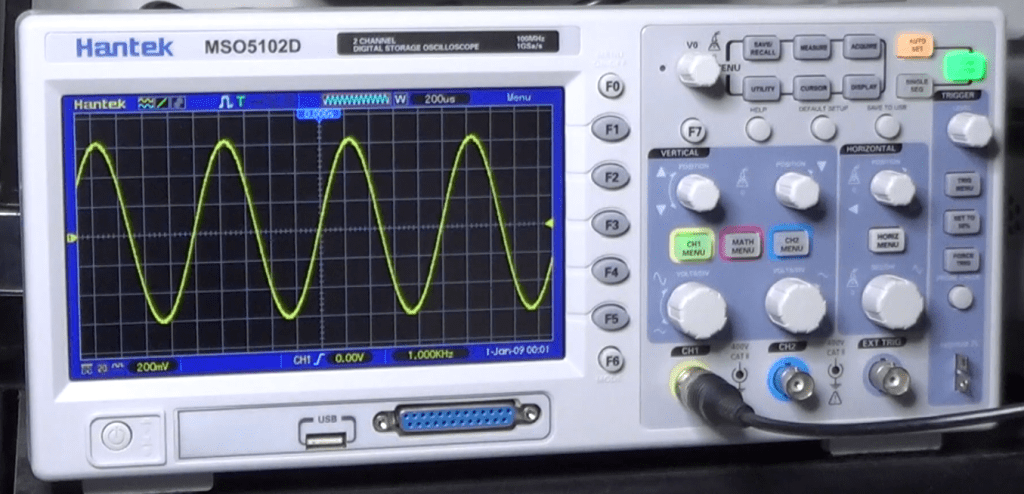
It draws a graph. Voltage on the vertical axis, time on the horizontal. So you can see exactly how a signal changes, millisecond by millisecond or even faster. So you can see noise, distortion, timing glitches. Things way too fast for a DMM.
And the key to using it effectively, the thing that unlocks its power, is the trigger control. It just tells the scope when to start drawing the waveform on the screen.
It looks for a specific voltage level on the signal. So every time the signal hits, say, one volt while rising, the scope starts drawing from that exact point. And because it starts drawing at the same point on the waveform over and over, that fast-moving signal looks like it’s standing perfectly still on the screen. Makes analysis possible.
So you hook the function generator output, like a 1 kHz sine wave, to your circuit input and then probe the output with the oscilloscope. And you can see precisely how your circuit affects that signal, stable and clear, thanks to the trigger. That’s how professionals diagnose high-speed problems.
Conclusion
Let’s recap quickly, by function.
Tier 1, the must-haves for prototyping are the breadboard and the DMM.
Tier 2, the essential builder for making it permanent, is the soldering iron and the solder. And don’t forget the ventilation!
Tier 3, the diagnostic duo for seeing the unseen signals, are the function generator and the oscilloscope.
That’s the core toolkit for your lab.
The really crucial takeaway is that you don’t need everything on day one. It’s scalable.
Start with Tier 1. Get comfortable prototyping. Then, when your projects demand permanence, you move to Tier 2.
And only when you’re dealing with signals where timing and shape really matter, like building an audio filter or maybe something with a micro-controller, you invest in Tier 3 for that deeper diagnostic view.
Start small, build your skills, and let your projects guide how you grow your lab. Build it organically.
You don’t need everything at once!
Finally, here is the link to the companion YouTube Video, which you may want to watch for additional details.

